
How To
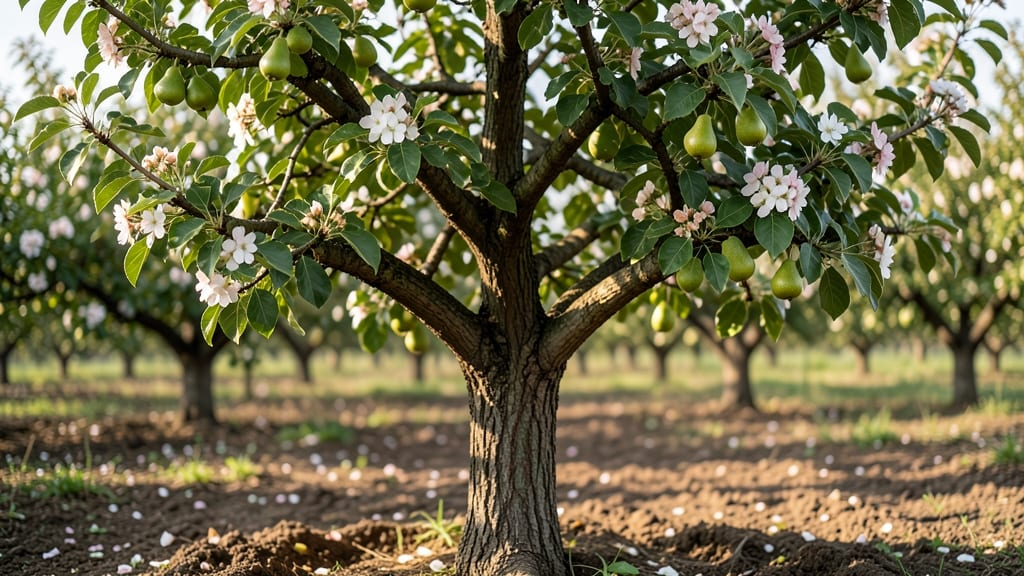
Turning your pear tree’s delicate blossoms into sweet, ripe fruit 🍐 is the ultimate gardening payoff—but without the right care, even the most beautiful flowers can vanish without a trace.
Picture this: You wake up to a tree heavy with blossoms, only to watch them drop like snowflakes within days. Or worse, the tiny fruits that do form stay stubbornly small, never reaching harvest size.
These aren’t just bad luck—they’re missed opportunities, and the key to fixing them lies in understanding the five critical stages between bloom and fruit.
From pollination to cell division, each phase demands specific conditions: the right balance of water, nutrients, and protection from pests. Get it wrong, and your tree might still look healthy but produce nothing.
Get it right, and you’re rewarded with bushels of pears—if you know what to watch for.
In this guide, I’ll walk you through every step—what to do, what to avoid, and how to troubleshoot when things go sideways. By the end, you’ll know exactly how to turn those blossoms into a harvest you can be proud of.
The 5 key stages from pear tree blossom to fruit (and what goes wrong)
Understanding the 5 critical stages from pear tree blossom to fruit helps you intervene when problems arise. Each phase—pollination, fruit set, cell division, sizing, and ripening—demands specific care.
Miss one, and you risk blossom drop, stunted fruit, or cracking. Let’s break down what happens at each stage and how to protect your harvest.
Stage 1 is all about pollination. Pear trees rely on bees or wind to transfer pollen between blossoms. Without this step, no fruit forms. If you see unopened blossoms or poor bee activity, your tree may struggle.
Cold springs or early frost can also halt pollination entirely, leaving you with empty flower clusters.
Stage 2, fruit set, occurs 2-4 weeks after pollination. Successful fertilization leads to tiny fruitlets, but environmental stress—like drought or heatwaves—can cause blossom drop.
Thin fruit early to retain the largest, healthiest pears. If you notice abnormal fruit drop before June, your tree may be under stress or lacking nutrients.
Stage 3 focuses on cell division, where fruitlets grow rapidly. This phase is critical for size. Insufficient water or nitrogen can stunt growth, while overcrowded branches lead to small, misshapen pears. Prune strategically to improve air circulation and sunlight exposure during this stage.
Stage 4 is fruit sizing, typically 6-8 weeks after pollination. Here, pears develop their final shape and firmness. Too much rain or humidity can cause fruit cracking, while poor soil drainage may lead to bitter-tasting pears. Monitor moisture levels and adjust irrigation to prevent these issues.
Stage 5, ripening, is when pears soften and develop their signature sweetness. Color changes, stem separation, and slight give signal readiness. If pears stay hard or develop off flavors, they may have been harvested too early or suffered from late-season stress.
Each stage demands attention to watering, nutrients, and environmental conditions. For example, during cell division, deep watering every 5-7 days supports rapid growth. Skip this, and your pears may stay small. Similarly, ripening pears need consistent moisture but not soggy soil—balance is key.
If you notice blossom drop in Stage 2, check for frost damage or nutrient deficiencies. Apply a balanced fertilizer (10-10-10) and mulch to retain moisture. For cracking fruit in Stage 4, reduce overhead watering and improve drainage. These small adjustments can save your harvest.
Protecting your pear tree at each stage ensures a bountiful harvest. Monitor for pest activity (like codling moths) and disease signs (e.g., fire blight). Early intervention—such as pruning infected branches or applying organic sprays—prevents widespread damage and keeps your tree healthy for future seasons.
By understanding these 5 stages and their unique challenges, you’ll transform potential failures into a thriving pear harvest. Pay attention to the details, and your tree will reward you with juicy, flavorful fruit year after year.
Common mistakes that turn blossoms into failed fruit (and how to Fix them)
Even the most stunning pear tree blossoms can fail to produce fruit if critical conditions aren't met. Many gardeners unknowingly sabotage their harvests with simple oversights. The good news? Most of these mistakes are reversible with targeted fixes. Let's break down the root causes and actionable solutions for each stage.
First, improper pollination is the #1 culprit behind failed fruit set. Pear trees often rely on cross-pollination between different varieties, but even self-pollinating types need the right conditions. Wind, bees, or even gentle shaking can help transfer pollen—but without them, blossoms drop without forming fruit.
Even if you have the right pollinators, poor weather (like rain during bloom) can wash away pollen before fertilization occurs.
⚠️ callout-warning
Your pear tree blossoms may be dropping due to:
- Lack of pollination: No bees/wind to transfer pollen (✅ Fix: Hand-pollinate with a soft brush)
- Nutrient deficiency: Low boron or calcium (✅ Fix: Apply boron supplement or lime)
- Water stress: Too much or too little water (✅ Fix: Deep water 1-2x/week during bloom)
- Temperature shock: Late frosts or heatwaves (✅ Fix: Use frost cloths or shade cloth)
💡 Pro Tip: If 80%+ of blossoms drop within 2 weeks, act fast—most fruit set happens in the first 10 days after pollination.
Next, nutrient deficiencies often go unnoticed until it's too late. Pears need balanced fertilization with special attention to boron and calcium. A deficiency shows up as small, misshapen fruit or even blossom end rot.
Test your soil in early spring—most pear trees thrive in 6.0-7.0 pH. If your soil is too acidic, add lime 2-3 months before bloom season.
Watering issues create another silent killer. Overwatering suffocates roots and encourages fungal diseases, while underwatering causes blossoms to abort. The key is consistent moisture—deep watering 1-2 times per week during bloom, ensuring the top 12 inches of soil stays evenly damp.
Mulch with wood chips to retain moisture and regulate soil temperature.
Pests and diseases can derail fruit development before you even notice. Codling moths lay eggs in blossoms, and fire blight bacteria can spread rapidly, turning fruit into blackened mush.
Monitor your tree daily during bloom, and apply organic sprays like neem oil or bacillus thuringiensis at the first sign of trouble. Prune out any infected branches immediately to prevent spread.
Finally, temperature extremes can shock your tree into dropping blossoms. Late spring frosts (28°F or below) are especially damaging, while sudden heatwaves (>90°F) can cause blossoms to wither.
Protect young trees with frost cloth during cold snaps and provide afternoon shade in hot climates. Even mature trees benefit from drip irrigation to keep foliage cool.
With these fixes in place, your pear tree blossoms will have the best chance to develop into plump, juicy fruit. Start by addressing the most likely issue in your climate—often, a simple adjustment in watering or pollination can transform a failed harvest into a bountiful one. 🍐